EATON E29 Series Pushbutton Lenses
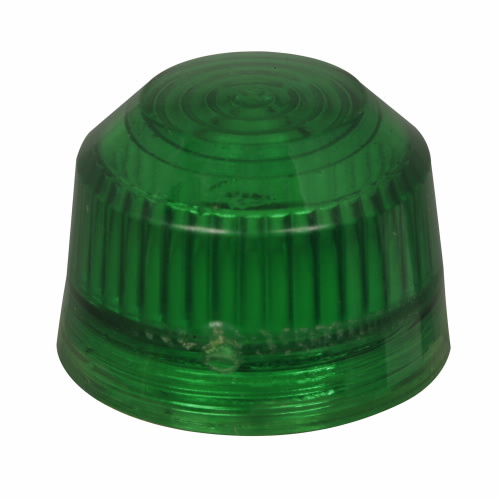
Eaton E29 Series pushbutton lenses are used in stationary machinery & equipment outside the factory. These indicating glass lenses are used with indicator lights, LEDs or incandescent bulbs for emitting light to indicate the status of the equipment.
Filter
 A
A B
B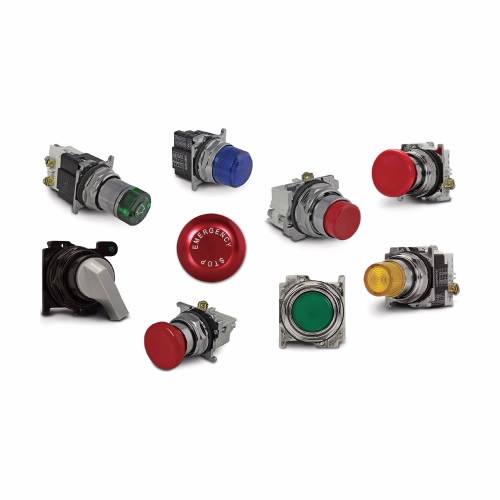 C
C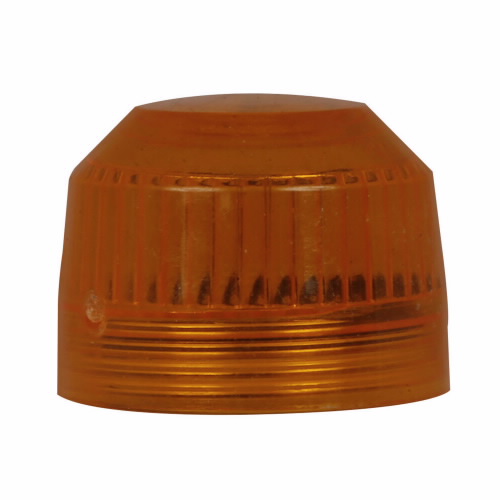 D
D| Style | Model | Height | Type | Lens Material | Price | |
|---|---|---|---|---|---|---|
| A | E29KPG | - | - | - | - | RFQ
|
| A | E29KPY | - | - | - | €86.44 | |
| B | E29KGB | - | - | - | €156.39 | RFQ
|
| C | E29KGW | - | - | - | €156.39 | |
| C | E29KGG | - | - | - | €156.39 | |
| A | E29KPR | - | - | - | - | RFQ
|
| C | E29KGR | - | - | - | €156.39 | |
| B | E29KGA | - | - | - | €149.94 | RFQ
|
| A | E29KPW | - | - | - | - | RFQ
|
| B | E29KGC | - | - | - | - | RFQ
|
| B | E29KG30 | 1/2" | Pushbutton Accessory | - | €149.94 | RFQ
|
| D | E29KPC | 1/2" | Pushbutton Accessory | Plastic | €86.44 | |
| D | E29KPA | 1/2" | Pushbutton Accessory | Plastic | €86.44 | |
| D | E29KP20 | 1/2" | Pushbutton Accessory | Plastic | €86.44 | |
| D | E29KPB | 1/2" | Pushbutton Accessory | Plastic | €82.89 | |
| B | E29KG20 | 1/5" | Pushbutton Accessory | - | €149.94 | RFQ
|
| D | E29KP60 | 3/5" | Pushbutton Accessory | Plastic | €86.44 | |
| D | E29KP10 | 3/5" | Pushbutton Accessory | Plastic | - | RFQ
|
| B | E29KP50 | 5" | Pushbutton Accessory | Plastic | €86.44 | RFQ
|
Working Mechanism
- The electrical equipment is designed with a component that produces a signal, such as a switch or a sensor, to indicate its status.
- The signal is then connected to a driver circuit which converts the signal into a form that can drive an indicator light.
- The indicator light is mounted behind these indicating glass lenses, typically designed with a coloured filter that matches the colour of the light.
- When the electrical equipment is in a particular state, the driver circuit sends a signal to the indicator light to turn on.
- The light emits a beam of light that passes through the coloured filter of these indicating glass lenses, producing a visible indication of the equipment's status.
- The user can then observe the colour and position of the light through the indicating glass lens to determine the state of the electrical equipment.
Features
- They feature heavy-duty oil-tight construction for leakproof operations.
- These pushbutton lenses have a glass bus for reduced distortion.
- They come with a clear actuator for sharp, clear and magnified vision.
Frequently Asked Questions
How to clean Eaton E29 Series pushbutton lenses?
- Turn off the power to the equipment to prevent any electrical hazards while cleaning the lens.
- Use a soft & lint-free cloth or microfiber cloth to wipe the surface of the lens. Avoid using abrasive or harsh cleaning agents that can scratch or damage the lens.
- Dampen the cloth with a small amount of water or a mild cleaning solution to help remove any dirt or debris on the lens.
- Avoid spraying or pouring liquids directly onto the lens, as this can cause moisture to seep into the electrical components behind the lens.
- Gently wipe the lens in a circular motion. Do not apply too much pressure or rub too vigorously to avoid scratching or damaging the lens.
- Once the lens is clean, dry it thoroughly with a clean & dry cloth to prevent any moisture or streaks from forming on the surface.
How to install these lenses?
- Identify the appropriate location for the lens and cut a hole in the panel to match its dimensions.
- Mount the lens on the panel using appropriate hardware.
- Connect the indicator light to the driver circuit using proper wiring connections.
- Connect any additional wiring or components as needed.
- Test the lens and light to verify proper operation.
- Secure the panel or control box in place.
- Follow equipment manufacturer's instructions and safety guidelines.
We are here to help!
Looking for a part not listed here?
Explore More
- COLDER PRODUCTS COMPANY
- KEYSHAFT
- EXCEL DRYER
- IPOWER
- Air Grinders
- Serving Bowls
- Motorized Dampers Accessories
- Hand Held Punches
- Drive Reactors and Filters
- 3 Inch Chart Recorders - DICKSON
- Slip On General Utility Mechanics Gloves - MECHANIX
- XL-C Reducer, Copper, Press X FTG Connection - VIEGA PROPRESS
- Air Cut-Off Tools - CHICAGO PNEUMATIC
- Storage Cabinet, Louvered Door - JAMCO
- Interchange Hydraulic Filters, Glass, 5 Micron - MAIN FILTER INC.
- Conductive Pneumatic HEPA Vacuums - AIR SYSTEMS INTERNATIONAL
- Bottom Hand Taps, HSS, Nitride - REGAL
- Vacuum Filters - BOSCH